
Add and verify your domain

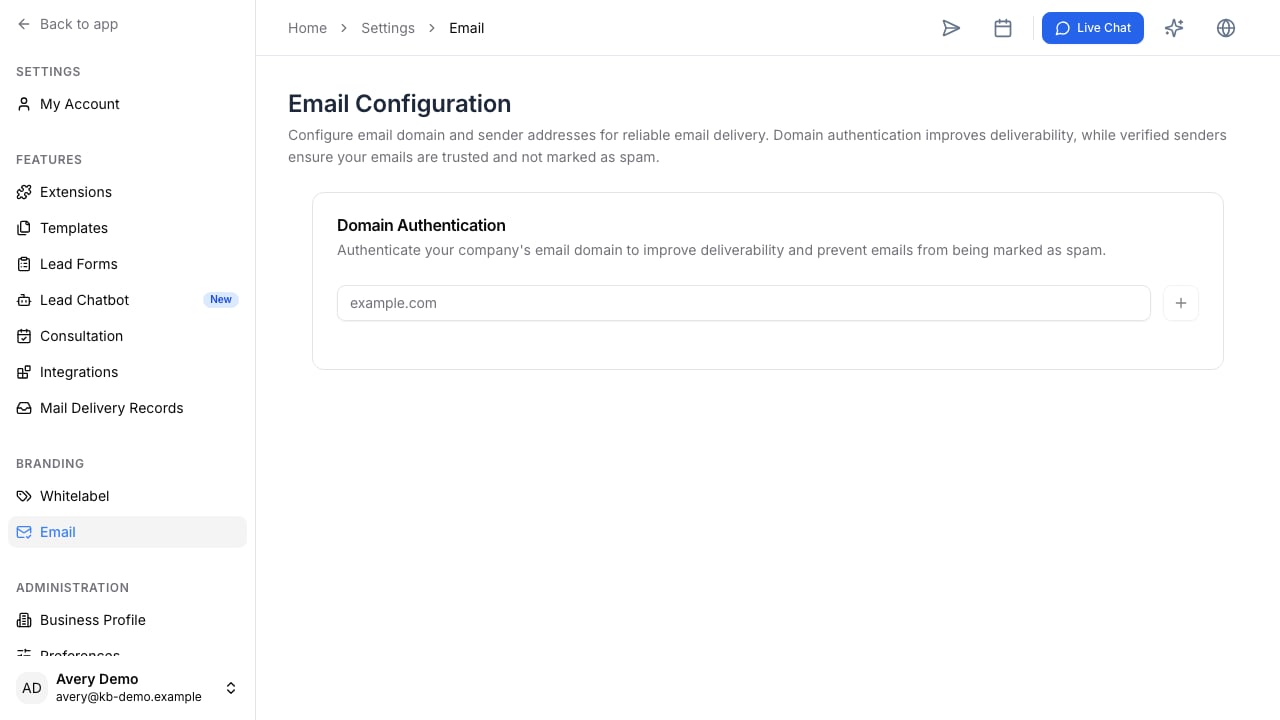
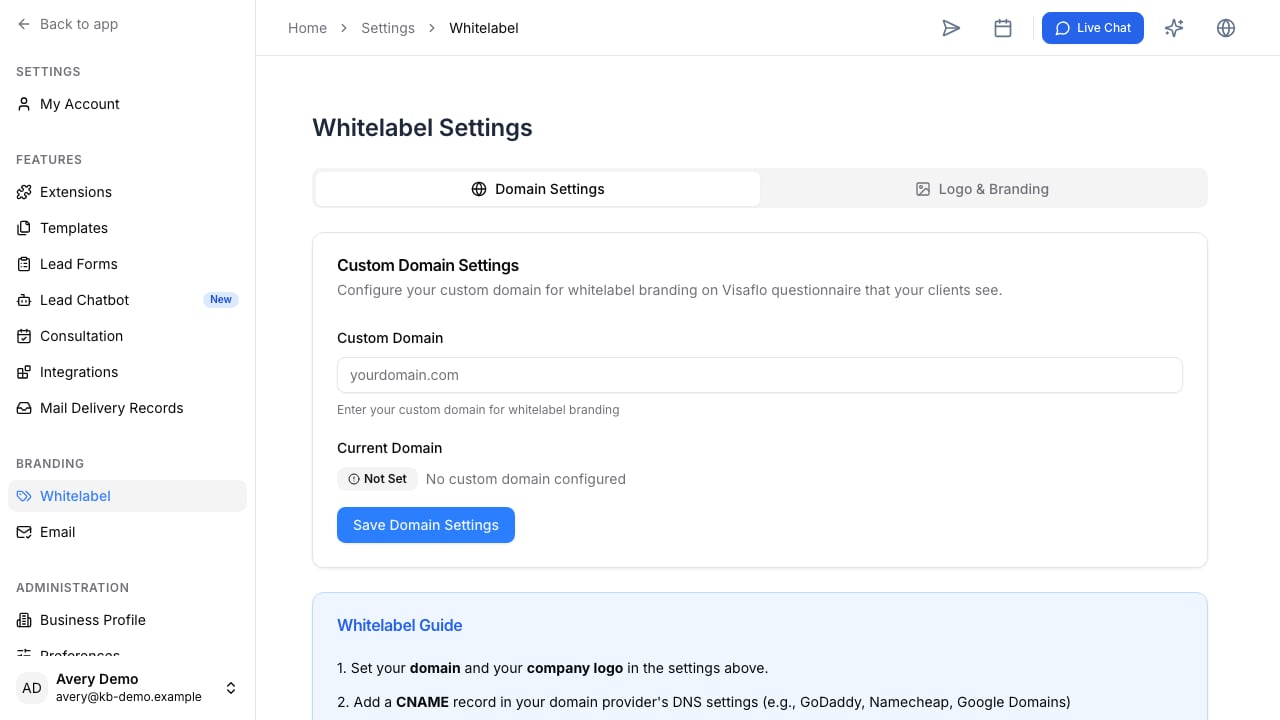
Open Settings, then Email Configuration. Add the domain your firm uses for client communication and copy the required DNS records into your domain provider. Keep the records in place until the configuration shows that the domain is verified. Email Configuration with the domain authentication field before a domain is added. Whitelabel Settings with the custom-domain field and DNS setup guidance before a domain is configured.
Configure staff senders

After the domain is verified, each staff member can configure the sender address they use under that domain and set an email signature. Use a sender address that the recipient can reply to and keep signatures consistent with your firm’s contact details.

Before sending client email

Send a test email to an internal address first. Confirm the From address, reply-to behaviour, signature, and delivery. Then use the configured sender in Email Composer for client or lead messages.

Troubleshooting

DNS changes can take time to propagate. If verification does not complete, compare the host, record type, and value with the Email Configuration screen and remove conflicting records only when you are sure they are obsolete. If a team member has no sender option, confirm that the company domain is verified and that their user address is configured.