The outcome
At the end of this workflow, the case has the correct client, application type, owner, questionnaire, evidence location, and next review task. Do not start document generation or portal autofill until this foundation is reviewed.1. Create the case deliberately
Select the correct client, case type, assignees, and a clear name. The case type matters because it controls the available intake and supported automation paths, and it fixes the case’s document checklist at creation — review your checklist template for that case type before opening the case, not after.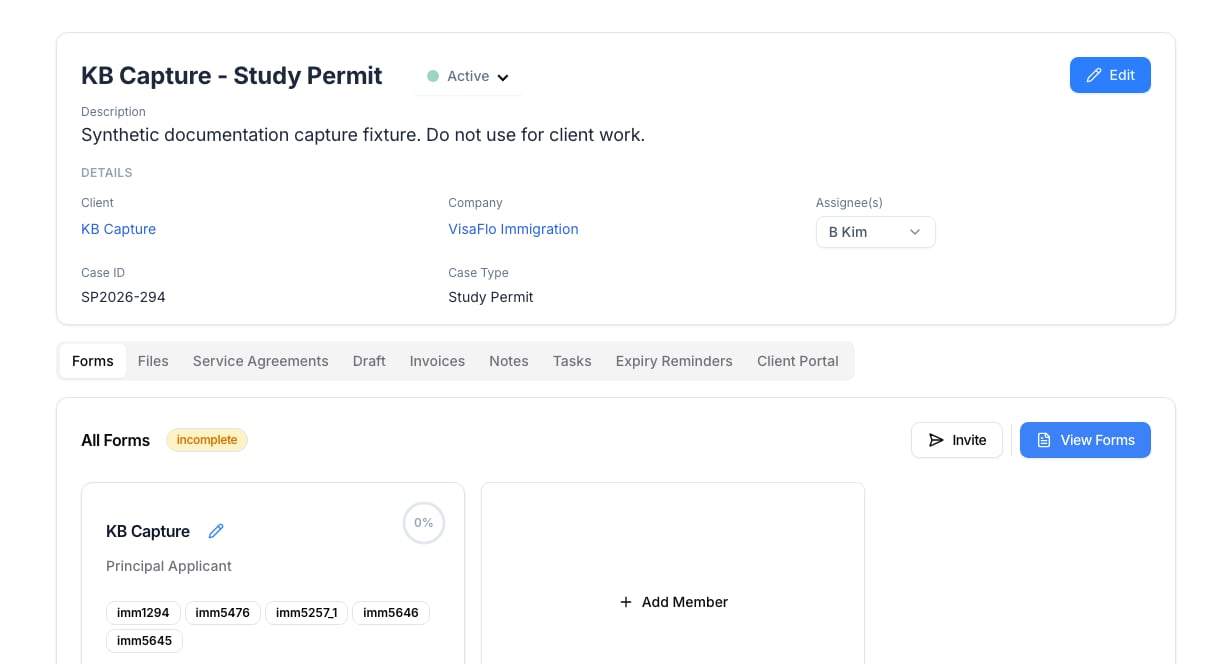
2. Send a focused questionnaire
Before inviting the client, confirm the recipient email, questionnaire, case status, and family-member assignment. Send the invitation only when the form is ready. The client should receive one understandable request, not a form that is still being changed.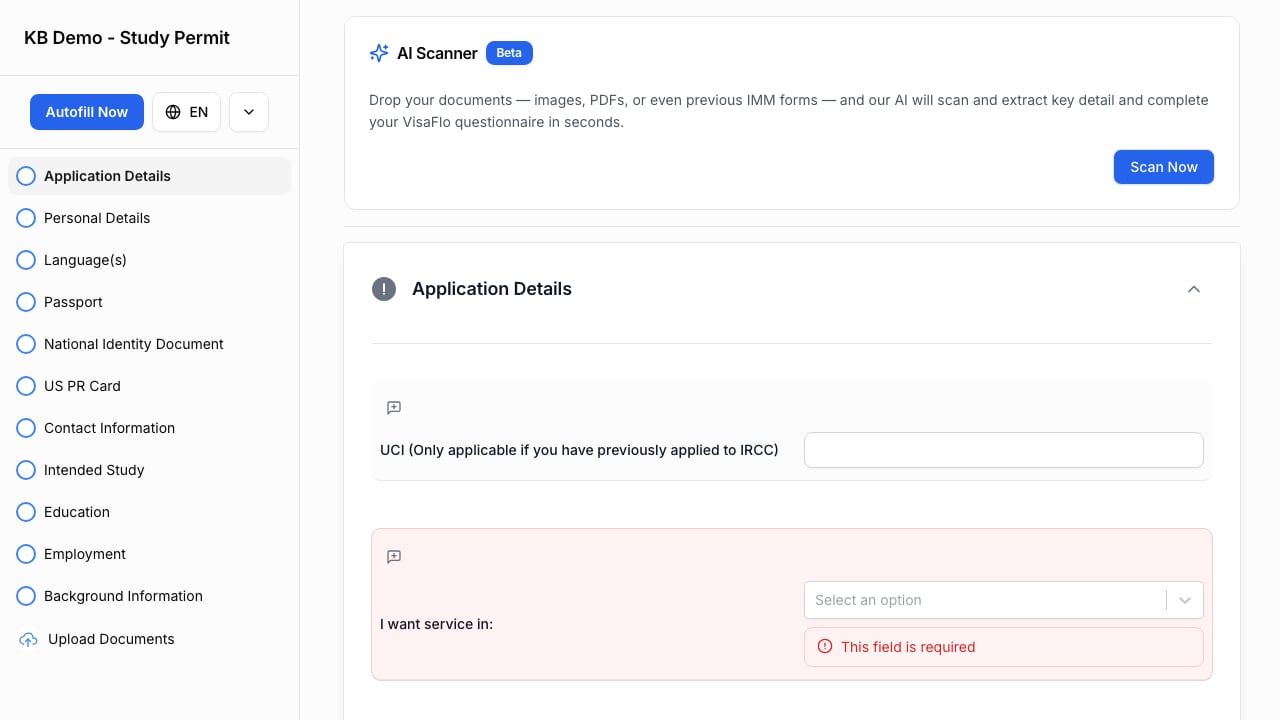
3. Review facts and ask for corrections
Review answers in the staff workspace, not just the completion percentage. Resolve unclear or conflicting answers before moving forward. Use comments or a follow-up request when the client needs to correct something.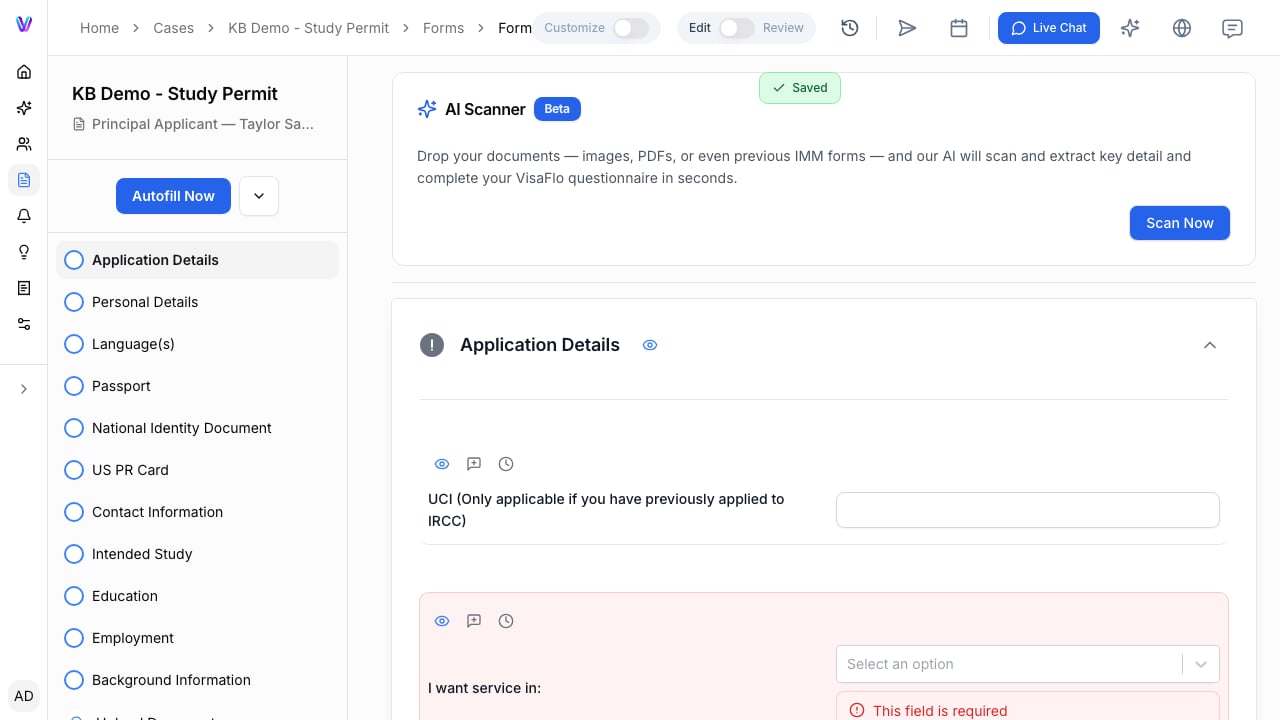
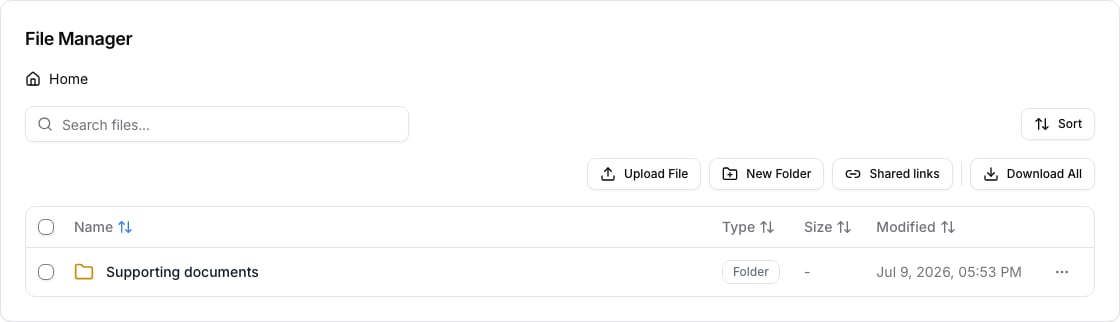
4. Organize supporting evidence
Store staff-managed evidence in the case Files area with a small, predictable folder structure. Keep questionnaire upload requests distinct from internal file organization so clients are not asked to navigate staff folders.