The outcome
Set up enough of VisaFlo that a staff member can communicate as your firm, open a case consistently, and know who owns the next action. Do this before sending real invitations. You do not need to configure every optional feature on day one.1. Decide how your firm will work
Choose one common case type for the first rollout. Agree on the lead stages, case naming convention, required intake information, document folders, task owners, and the review point before a document or portal entry is used. Launch Your Firm has the rollout checklist.2. Add the people who do the work
Invite intake, casework, and billing staff. Give each person only the access they need, and decide who can create cases, send client-facing communication, or approve submissions.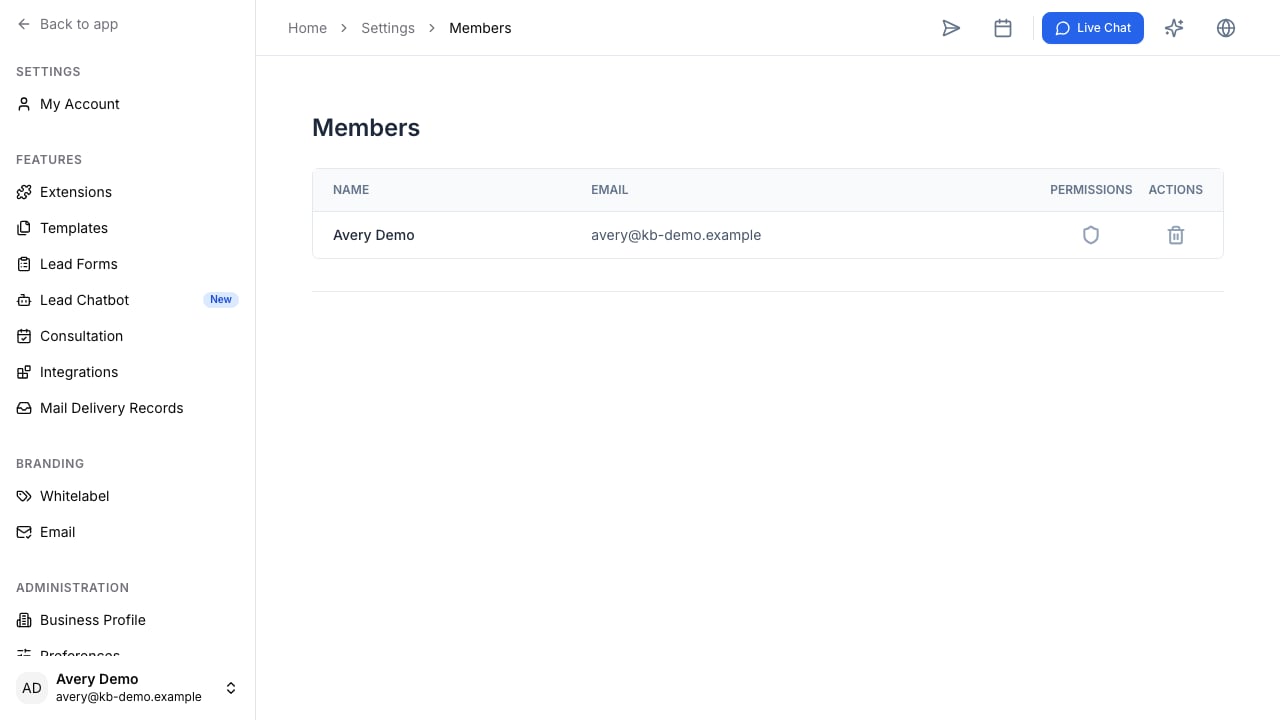
3. Make outbound communication recognizable
Configure a branded sender before invitations, payment requests, or signature requests go to clients. Verify the sending domain, then create a professional staff signature. Test with an internal recipient before using it on an active file.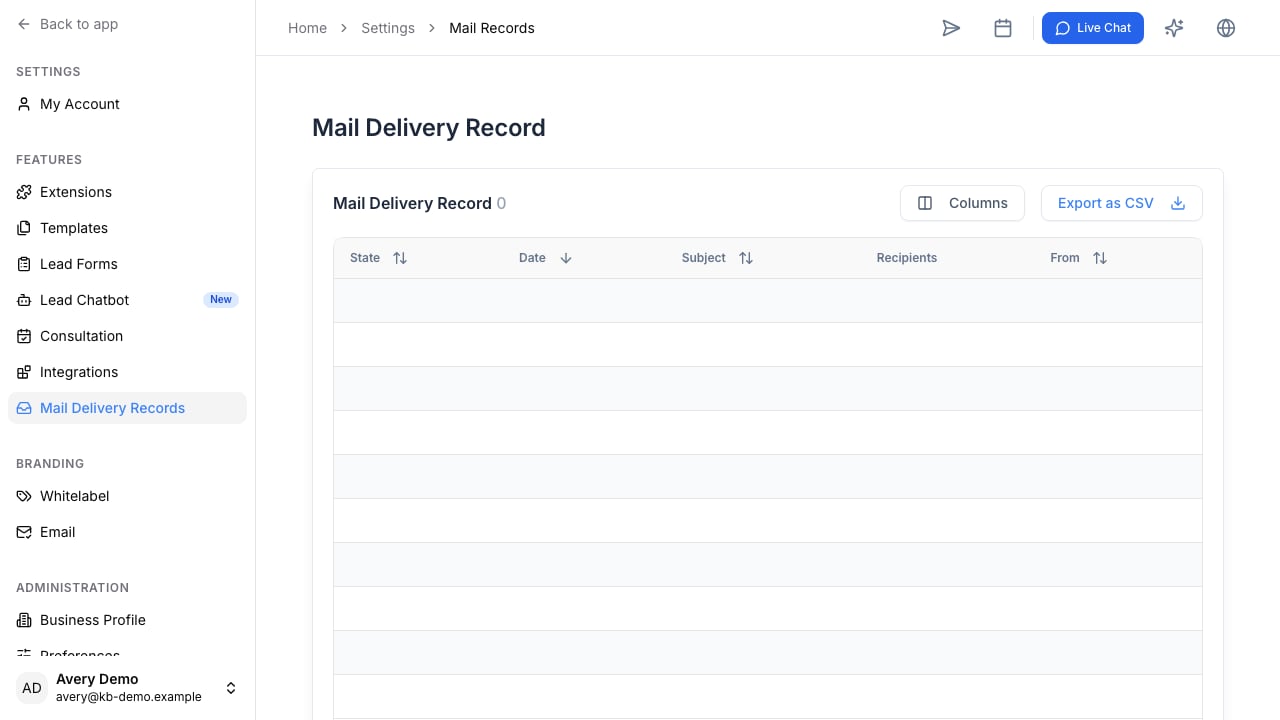
4. Build reusable case materials
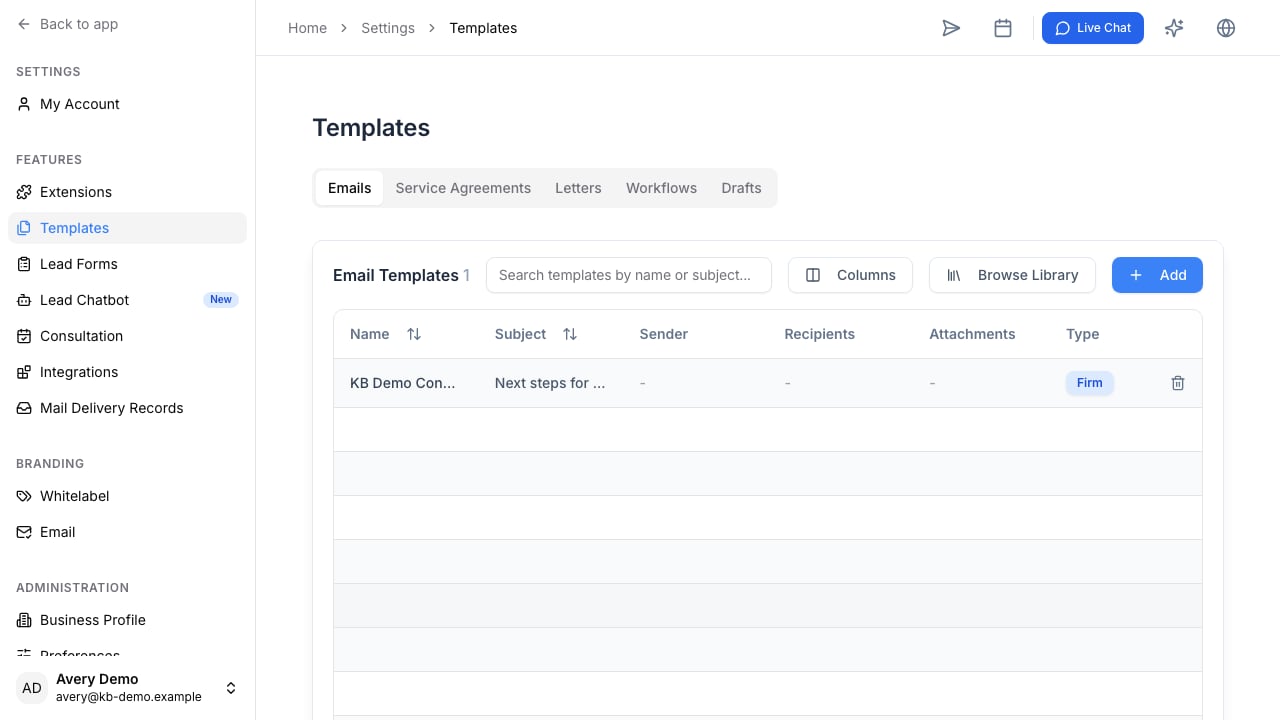
Prepare the templates and agreements your first case type needs. Use short, clear client-facing language and require a staff review before a generated document is sent or signed. Review the document checklist for your first case type as well, so every new case asks clients for the right evidence from day one.