

Overview
AI Drafts help your team create and revise immigration letters, agreements, and other case documents with context from a case, its forms, uploaded files, templates, and prior drafts. The drafting workspace has two main areas:- A left panel for Vera chat, case forms, and case files.
- A document editor where you review, edit, save, and export the draft.
Before you start
- The case should already contain the client information and files you want to reference.
- If you use templates, create or review them in Settings > Templates before generating a draft.
- AI Drafts are available only on paid tiers that include drafting access.
Create a draft
- Open the case you want to draft for.
- Go to the case’s draft area.
- Choose whether to generate a draft from a template or start from scratch.
- Add a clear instruction for the draft, such as the document type, objective, tone, and any facts that must be included.
- Attach relevant case files, existing drafts, or a template when available.
- Start generation.
Review the draft workspace
Open a draft to review it in the editor.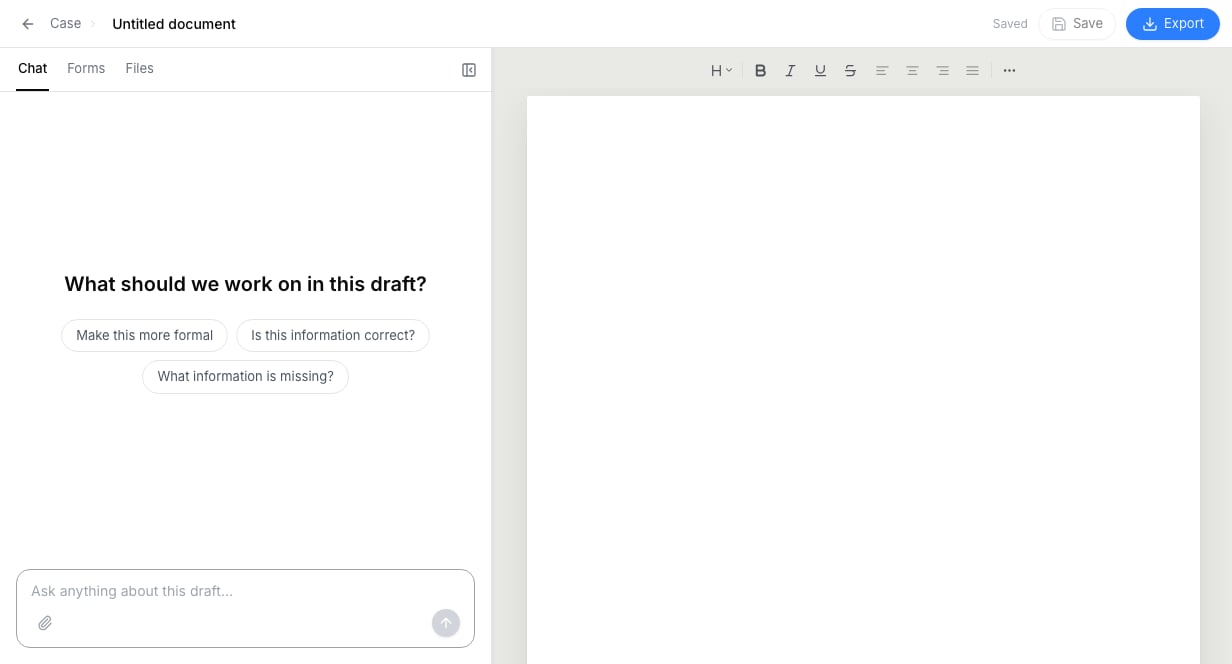
- Rename the draft.
- Save changes.
- Export the draft.
- Return to the case when the draft is case-linked.
- Ask Vera to revise, summarize, expand, or rewrite parts of the document.
- View case forms when the draft is linked to a case.
- View case files when the draft is linked to a case.
- Collapse the panel when you want more room for document editing.
Ask Vera for a revision
Use the Chat tab to ask a focused drafting question. The suggested prompts are a useful starting point, but include the relevant facts and the specific outcome you need before applying any response to a filing.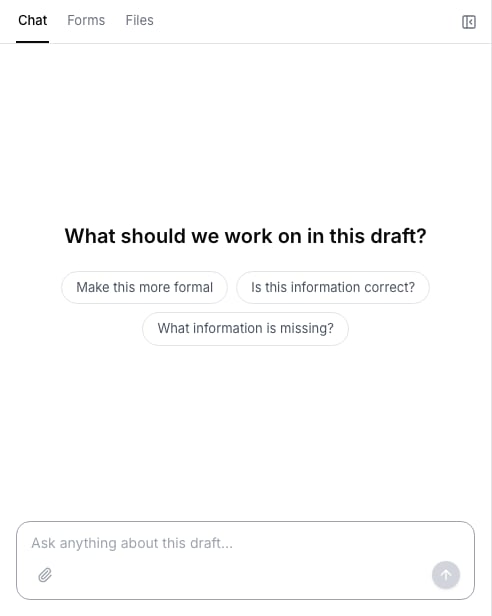
Work with suggested edits
When Vera proposes edits, review each pending edit before accepting it.- Read the suggested change in context.
- Accept individual edits that are correct.
- Reject edits that are inaccurate, incomplete, or not appropriate for the filing.
- Use Accept all only after checking the full set of pending edits.
Save and export
VisaFlo tracks unsaved changes while you edit.- Save after major edits.
- Export as DOCX when you need a Word document for further review.
- Export as PDF when you need a fixed-format copy.