

Overview
Single Sign-On lets team members sign in to VisaFlo with a corporate identity provider. The current settings UI supports Microsoft Entra ID. Owners can enable SSO, link their own account, configure a hosted SSO page, and disable SSO. Use this guide when setting up SSO for a workspace or validating that team members can sign in from a shared SSO URL.Before you start
- You must be an owner in VisaFlo.
- Create or open the SSO application in Microsoft Entra ID.
- Have the application Client ID, Tenant ID, and Client Secret ready.
- Be ready to add VisaFlo redirect URIs to the SSO application.
- Plan a short test window before inviting the full team.
Enable SSO
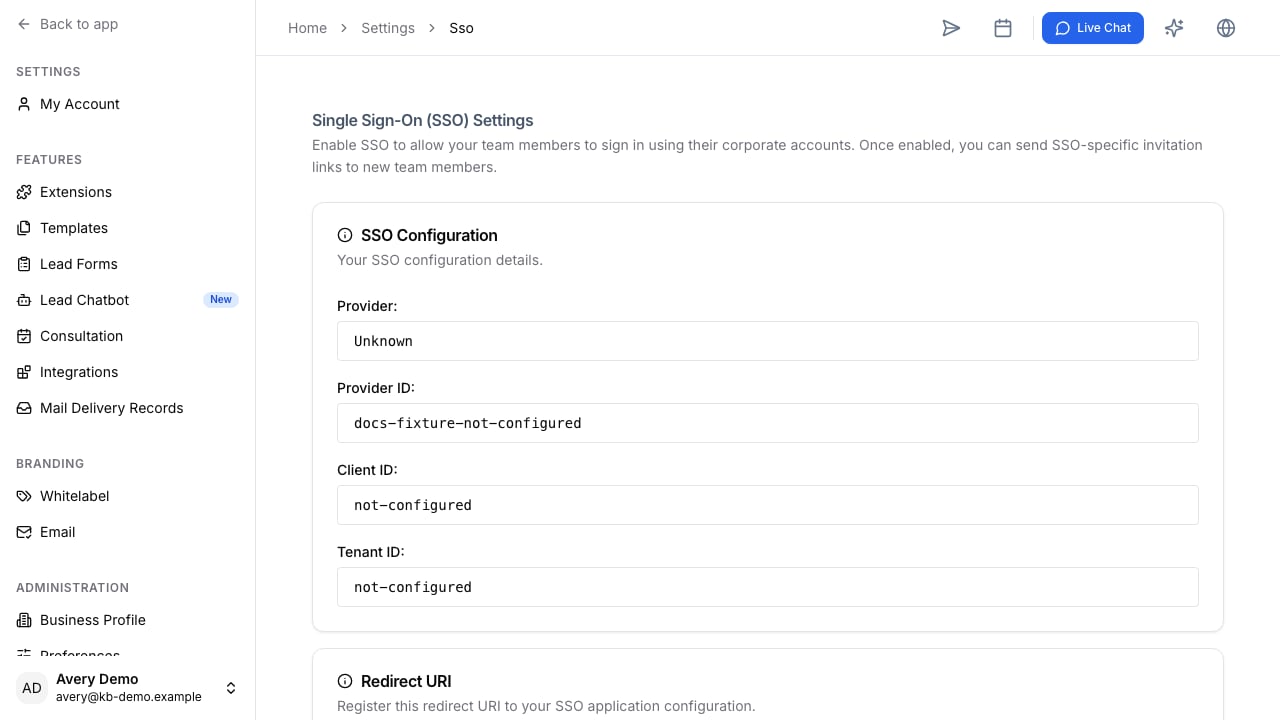
- Go to Settings > SSO.
- Choose Microsoft Entra ID (Azure AD) as the identity provider.
- Enter the Client ID.
- Enter the Tenant ID.
- Enter the Client Secret.
- Click Enable SSO.
Register redirect URIs
After enabling SSO, copy the redirect URI values shown in VisaFlo. Add the displayed Web redirect URI and Single-page Application redirect URI to your Microsoft Entra application. These values must match the current VisaFlo environment and domain.Link your owner account
The owner should link their own VisaFlo account before sharing the SSO page with the team.- In Settings > SSO, find Link Your Account.
- Click Link My Account with SSO.
- Choose the matching corporate account in the popup.
- Confirm the linked account email matches the VisaFlo account email.
Configure the SSO page
After the owner account is linked, configure the hosted SSO page.- Enter an SSO URL Slug using lowercase letters, numbers, and hyphens.
- Upload a PNG or JPEG logo up to 5MB if you want a branded SSO page.
- Review the generated
/sso/{slug}link. - Click Save changes.
Team member invitation links
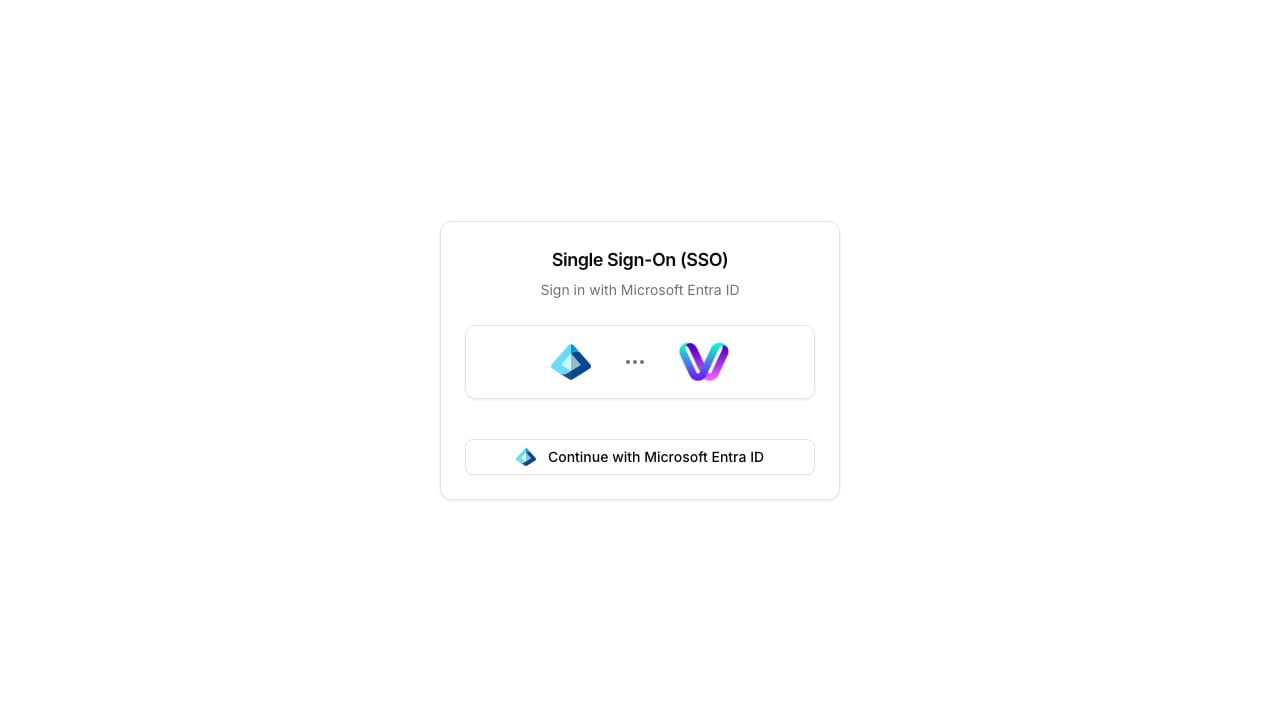
SSO invitation links use/sso-link?token=.... When a team member opens the link, VisaFlo inspects the token, loads the workspace SSO configuration, signs in through the identity provider, and completes account linking.
If the invitation link is invalid or expired, generate a fresh invitation from the team management flow.
Disable SSO
Only owners can disable SSO.- Go to Settings > SSO.
- Click Disable SSO.
- Confirm the action.